the Blog

3 Budget Friendly Options for Trying Out the Evergreen Planner System
Have you had your eye on our planner, but the price tag has you hesitating? If you operate on a budget (something we all do here at Evergreen!), then this is for you!
If you've been around for a while, you know that our Planner System is a financial investment. There are a few reasons why our products are priced the way they are:
- Our leather covers are a handcrafted artisan product that will last for years. So though expensive at the start, you are investing in a tool that ages beautifully.
- All of our booklets—the Classic and the Annual—are made in US with partners we can trust. This has been and remains a high priority to our team.
However, as women who operate on our own household budgets, we know that not every season affords the opportunity to invest in high-quality tools, such as our Full System. It has remained very important to us to give everyone a chance to try the planning system without breaking the bank!

Setting Up Your Classic Booklet
You did it. You took the plunge, and you're looking at your brand new Evergreen Planner System. Congratulations, and welcome! We are so glad you're here.
But now the real work of setting up your Planner begins. And maybe you feel overwhelmed (that's normal), or intimidated (that's normal too). Blank pages are most peoples' worst nightmare, and we get it.
With this post, we've taken the guess work out of it for you, with a simple guide to get you started.

Getting Started with the Evergreen Planner: The Classic
As we've said before, the Classic booklet is the muscle of the Evergreen Planner system. It is intuitively designed to help you plan your weeks, time-block your days, organize your thoughts, develop highly effective habits, and generally make space for the most important things in life. It is a way of planning that will grow with you as you hone your planning skills & planning rhythm. The way you use it in your first month will likely be entirely different than the way you use it 12 months in.
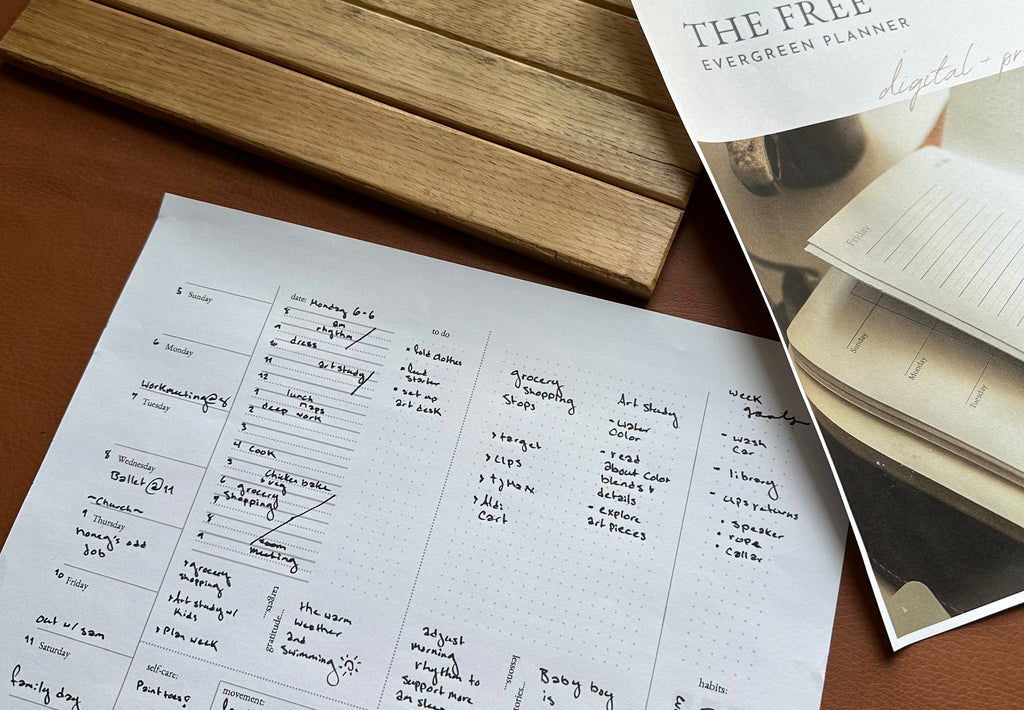
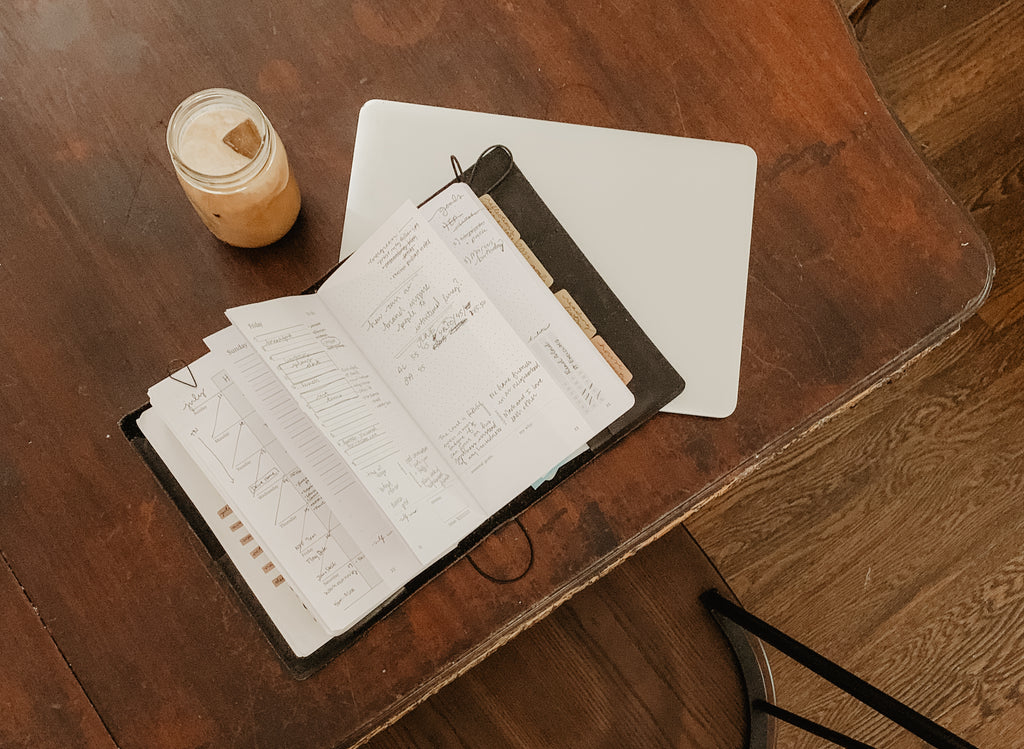
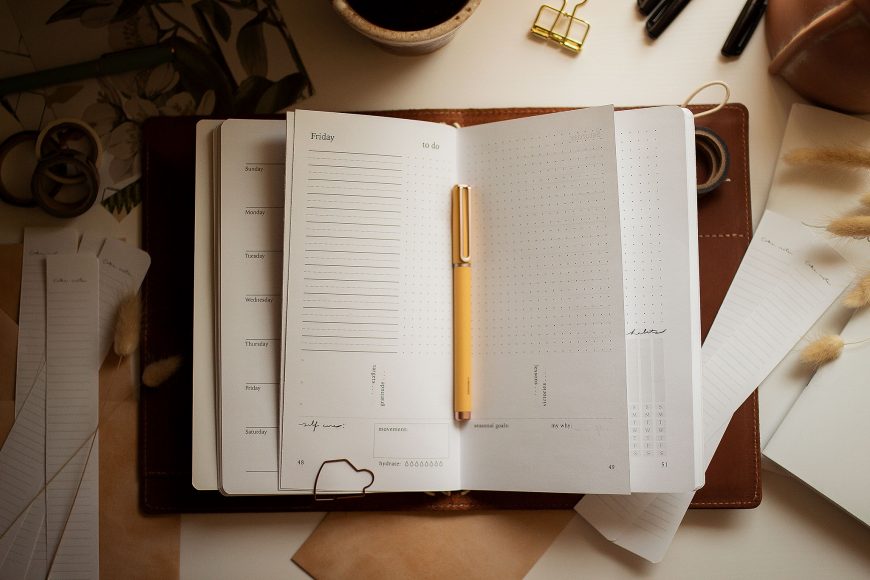
Begin by folding or tearing the perforated edges of each day page of your current week. This creates the dutch door effect in the layout, and will allow you to see your week's agenda and your day spread at the same time. {pro-tip: folded/torn pages can be used for lists, scratch notes, given to kids for notes or paper chains, and easily recycled when no longer needed}


